Anthurium Potting Techniques: The Ultimate Guide
Key Takeaways:
- Use a well-draining potting mix to ensure proper water drainage for Anthurium plants.
- Place the Anthurium in a spot with bright, indirect light to promote healthy growth.
- Avoid overwatering the Anthurium plant to prevent root rot and other diseases.
- Regularly prune and remove dead or yellowing leaves to maintain the plant’s aesthetic appearance.
Are you ready to unleash your inner plant parent and take your Anthuriums to the next level? Look no further! In this blog post, we’re diving deep into the world of Anthurium potting techniques.
Whether you’re a beginner or a seasoned gardener, I’ve got you covered with step-by-step instructions and expert tips to help you choose the right pot, select the perfect soil, ensure proper drainage, and successfully transplant your Anthuriums.
Plus, I’ll answer your burning questions and share some valuable insights on light, humidity, fertilizing, and pest control. So grab your gardening gloves and let’s get potting!
| Potting technique | Description |
| 1. Standard potting | Use a well-draining potting mix containing peat moss, perlite, and pine bark. Plant the anthurium with the crown of the plant slightly above the soil level. |
| 2. Semi-hydroponic potting | Place the anthurium in a pot with a layer of expanded clay pellets at the bottom. Add water to the reservoir, allowing the roots to absorb moisture as needed. |
| 3. Mounting on a board or bark | Attach the anthurium roots to a piece of wood or bark using wire or sphagnum moss. Keep the roots moist by misting or soaking regularly. |
| 4. Water culture | Grow the anthurium in a container filled with water and nutrient solution. The roots are submerged in the water, and aeration is provided through an air stone or air pump. |
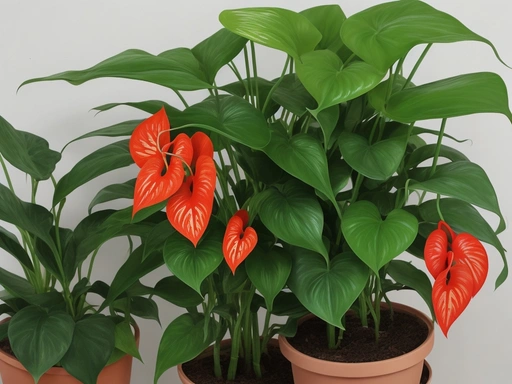
What is Anthurium?
Anthurium is a popular tropical plant known for its vibrant, heart-shaped flowers and glossy foliage.
Brief introduction to Anthurium plants
Anthurium plants are tropical plants known for their vibrant, heart-shaped flowers and glossy leaves.
They are popular as houseplants due to their low maintenance requirements.
Anthuriums thrive in warm, humid environments and are native to Central and South America.
They bring a touch of exotic beauty to any indoor space and can be a stunning addition to your plant collection.
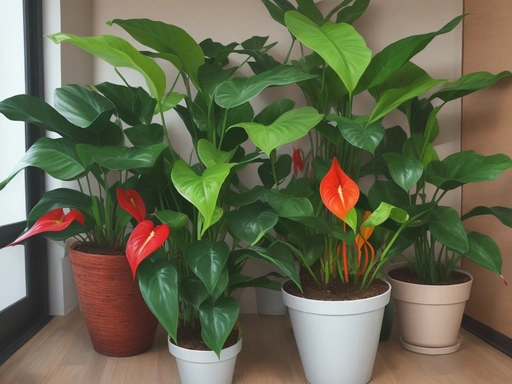
Potting Anthurium
When potting Anthurium, it’s important to choose the right pot and soil, ensure proper drainage, and transplant them carefully into new pots.
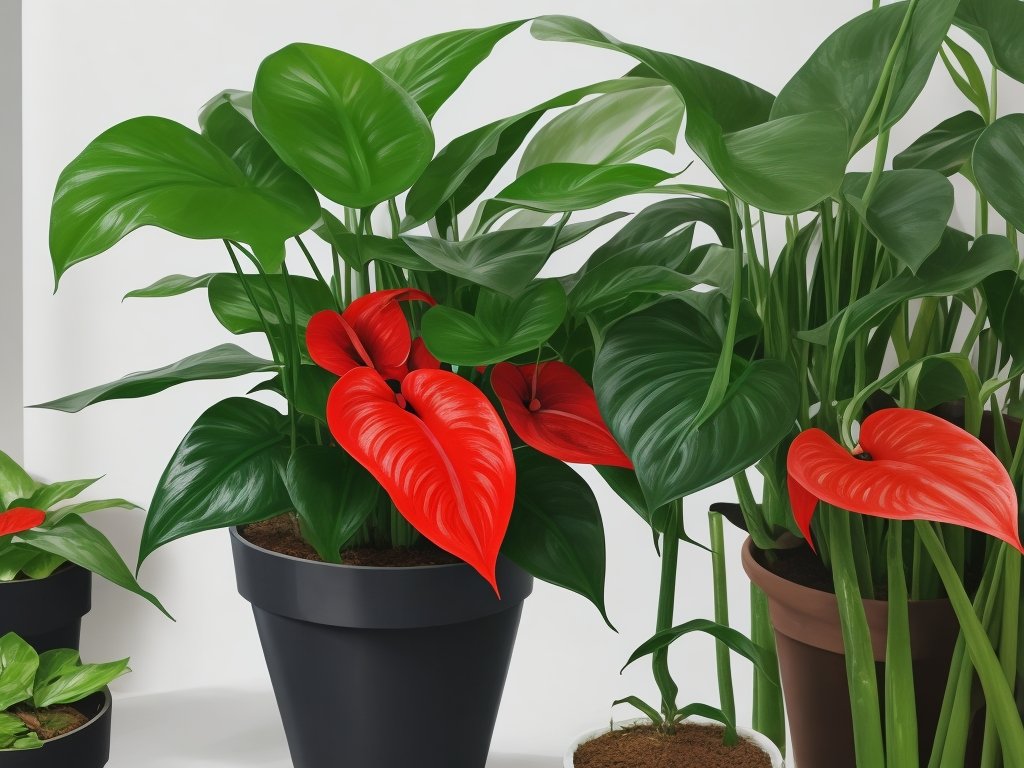
Choosing the right pot for Anthurium
To choose the right pot for your Anthurium, opt for a container that has drainage holes at the bottom to prevent waterlogging. A pot that is slightly larger than the current one will provide room for the plant to grow.
Select a pot made of a material such as clay or ceramic, which will help regulate moisture levels.
Selecting the appropriate soil for Anthurium
To select the appropriate soil for Anthurium, look for a well-draining potting mix that retains some moisture but does not become waterlogged. A mix of peat moss, perlite, and orchid bark is ideal.
Avoid heavy or compacted soils, as they can lead to root rot.
Proper drainage for Anthurium pots
Proper drainage is crucial for Anthurium pots to prevent waterlogged soil and root rot.
Ensure the pot has drainage holes at the bottom to allow excess water to escape.
Using a well-draining potting mix and adding a layer of gravel or perlite at the bottom can enhance drainage.
Avoid overwatering and remove any excess water that collects in the saucer.

Steps for Potting Anthurium
Potting an Anthurium involves these steps: preparing the potting materials, removing the plant from its current pot, inspecting the roots, placing it in the new pot, filling with soil, and watering and caring for it afterwards.
Preparing the potting materials
To prepare the potting materials for potting Anthurium, you’ll need a few things.
Firstly, select a pot that has drainage holes at the bottom to ensure proper water drainage.
Secondly, choose a well-draining soil mix that is rich in organic matter.
You can either buy a pre-made potting mix or make your own by combining peat moss, perlite, and orchid bark.
Thirdly, gather some small rocks or broken pot shards to create a layer at the bottom of the pot.
This will further improve drainage.
Lastly, have a watering can or spray bottle ready to water the Anthurium after potting.
Removing Anthurium from the current pot
To remove an Anthurium from its current pot, gently loosen the soil around the edges using your fingers or a small tool.
Carefully lift the plant out, supporting the base of the stem.
Be cautious not to damage the roots.
If the roots are tightly packed, you can gently tease them apart.
Avoid pulling or tearing them.
Once the plant is free from the pot, you’re ready to inspect the roots and prepare for transplanting.
Inspecting the plant’s roots
To inspect the plant’s roots, gently remove the Anthurium from its current pot.
Examine the roots for any signs of damage, rot, or pests.
Healthy roots should be white and firm, while unhealthy ones may be discolored, mushy, or have pests.
Prune any damaged or dead roots before repotting.
Placing the Anthurium in the new pot
To place the Anthurium in a new pot, gently remove the plant from its current pot.
Inspect the roots for any signs of damage or disease.
Carefully place the Anthurium in the new pot, ensuring that it is centered.
Fill the pot with fresh, well-draining soil, and lightly press it down.
Finally, water the plant thoroughly and provide the necessary care to help it adjust to its new home.
Filling the pot with soil
To fill the pot with soil for potting Anthurium, start by selecting a well-draining potting mix. Fill the pot about halfway with the soil, making sure to leave enough space for the plant’s roots.
Gently place the Anthurium into the pot and continue to add soil around it, pressing lightly to secure the plant.
Be careful not to bury the plant too deep. Fill the pot until the soil is level with the top of the plant’s roots.
Lastly, give the plant a gentle watering to settle the soil.
Watering and care after potting
After potting your Anthurium, it’s important to water it properly and provide the right care. Here are some tips:
- Water thoroughly, but don’t let the plant sit in standing water.
- Allow the top inch of soil to dry out before watering again.
- Avoid overwatering, as this can cause root rot.
- Provide indirect light, but avoid direct sunlight.
- Maintain a temperature range of 65-80°F (18-27°C.
- Keep humidity levels around 50-60%.
- Fertilize every 2-3 months with a balanced fertilizer.
- Monitor for pests like aphids or mealybugs, and treat accordingly.
- If necessary, repot the Anthurium when it becomes root-bound.
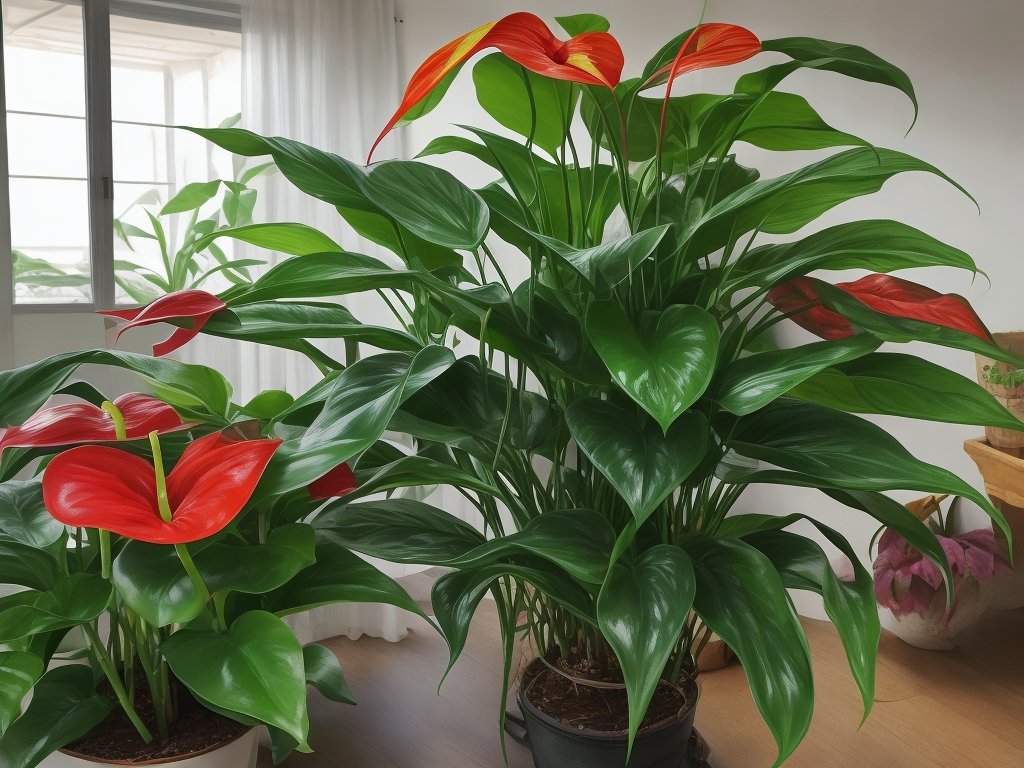
Tips for Successful Anthurium Potting
Pot your Anthurium in a well-draining soil mixture.
Providing the right amount of light
Providing the right amount of light is essential for the health and well-being of your Anthurium plant.
These plants thrive in bright, indirect light.
Avoid placing them in direct sunlight, as it can scorch their leaves.
Place your Anthurium near a window with filtered light or use curtains to diffuse intense sunlight.
It’s also important to rotate the plant occasionally for even light distribution.
Maintaining appropriate humidity levels
Maintaining appropriate humidity levels is crucial for the health and growth of Anthurium plants.
To do so, you can:
- Group your plants together to create a microclimate with higher humidity.
- Use a humidifier or place a tray of water near your plant to increase moisture in the air.
- Avoid placing your Anthurium in direct sunlight or next to air vents, as these can dry out the air.
- Regularly mist the leaves of your plant with water to provide additional humidity.
- Monitor the humidity levels using a hygrometer and adjust as needed to keep it within the ideal range of 60-80%.
Regularly fertilizing Anthurium plants
Regularly fertilizing Anthurium plants is essential for their growth and overall health. To ensure proper fertilization, use a balanced, water-soluble fertilizer specifically formulated for houseplants.
Dilute the fertilizer according to the package instructions and apply it every four to six weeks during the growing season.
Avoid over-fertilizing, as this can lead to salt buildup in the soil. Always water your Anthurium thoroughly before and after fertilizing to prevent root burn.
Regular fertilization will help your Anthurium thrive and produce beautiful blooms.
Monitoring for pests and diseases
When monitoring for pests and diseases in your Anthurium plant, keep an eye out for any signs of infestation or illness.
Look for common pests like aphids, mealybugs, and spider mites, as well as symptoms of diseases like root rot or leaf spots.
Regularly inspect the leaves, stems, and roots for any abnormalities, and take immediate action if you spot any issues.
Repotting Anthurium when necessary
Repot anthurium when the plant has outgrown its current pot or if you see crowded roots.
It’s important to choose a larger pot with good drainage.
Carefully remove the plant from its current pot, inspect the roots, and trim any damaged or overcrowded ones.
Place the anthurium in the new pot, ensuring that the roots are covered with soil and the plant is stable.
Water thoroughly after repotting and provide proper care for the plant to adjust to its new surroundings.
Frequently Asked Questions
How often should I repot my Anthurium?
Repotting your Anthurium is typically done every 2-3 years. This allows the plant enough time to outgrow its current pot and promotes healthy root growth.
Signs that your Anthurium may need repotting include roots coming out of the drainage holes or the plant becoming root-bound.
Can I reuse the potting soil after repotting?
Yes, you can reuse the potting soil after repotting your Anthurium plant. However, it is important to note that the soil may have lost some nutrients and may no longer provide the best growing conditions.
To ensure the health of your plant, mix in fresh soil or compost when reusing the old potting soil.
What should I do if my Anthurium is not thriving after repotting?
If your Anthurium is not thriving after repotting, there are a few things you can do. First, check the roots for any signs of damage or rot.
Trim away any unhealthy roots and replant it in fresh, well-draining soil.
Avoid overwatering and make sure the plant is getting the right amount of light and humidity. Give it some time to adjust, and with proper care, it should start thriving again soon.
How long does it take for an Anthurium to adjust to a new pot?
It typically takes around 2-4 weeks for an Anthurium plant to adjust to a new pot.
During this time, the plant may experience some stress and may seem less vibrant.
It’s important to provide proper care, including regular watering and appropriate light, to help the plant settle into its new environment.
Are there any specific care tips for potting Anthurium andraeanum?
When potting Anthurium andraeanum, there are a few care tips to keep in mind. First, choose a pot with good drainage to prevent waterlogging.
Second, use a well-draining soil mix that retains some moisture.
Third, during transplanting, be careful not to damage the plant’s roots. Finally, after potting, provide the Anthurium with the right amount of light, humidity, and regular fertilization.
Final Verdict
Potting Anthurium plants is an essential skill for any plant enthusiast.
By choosing the right pot and soil, ensuring proper drainage, and following the steps for potting, you can provide the ideal environment for your Anthurium to thrive.
Remember to provide the right amount of light, maintain humidity levels, fertilize regularly, and be vigilant for pests and diseases.
And if needed, don’t hesitate to repot your Anthurium.
With these tips, you’ll be well-equipped to successfully pot and care for your Anthurium plants, allowing them to flourish and bring beauty to your home or garden.