How To Propagate a Mini Monstera – Grow Your Indoor Jungle
Key Takeaways:
- Mini monstera can be propagated through stem cuttings or division.
- Ensure that the cuttings have at least two nodes and remove any leaves from the lower portion.
- Provide a well-draining soil mix and keep the cuttings in a warm, humid environment.
- Regularly mist the cuttings and provide indirect light for healthy growth.
Are you ready to dive into the wonderful world of propagating mini Monstera plants? If you’re a plant lover like me, you’ll understand the joy of multiplying your green buddies and watching them thrive.
In this article, I’ll walk you through the exciting process of propagating mini Monstera, revealing the secrets to success and troubleshooting common issues along the way.
From stem cuttings to air layering, we’ll explore different methods and provide step-by-step instructions. So, grab your gardening gloves and let’s get started on this propagation adventure together!
| Step | Description |
|---|---|
| Gather supplies | Prepare pots, potting soil, mini monstera cuttings, and rooting hormone (optional) |
| Prepare the cuttings | Select healthy stems with at least two nodes and remove any leaves near the base |
| Apply rooting hormone (optional) | If desired, dip the cut end of the stem into rooting hormone to encourage faster root growth |
| Plant the cuttings | Insert the cuttings into moist potting soil, burying the nodes and leaving the leaves above the soil |
| Maintain humidity | Cover the cuttings with a plastic bag or place them in a propagator to maintain high humidity |
| Provide indirect light | Place the cuttings in a bright spot, away from direct sunlight |
| Water regularly | Keep the soil slightly moist but not waterlogged, mist the leaves if necessary |
| Monitor for roots | Check for root development after a few weeks by gently tugging the cuttings – resistance indicates root growth |
| Transplant | Once roots have formed, carefully transplant the mini monstera cuttings into individual pots with well-draining soil |
| Provide proper care | Continue to water and provide indirect light for the newly propagated mini monstera plants |
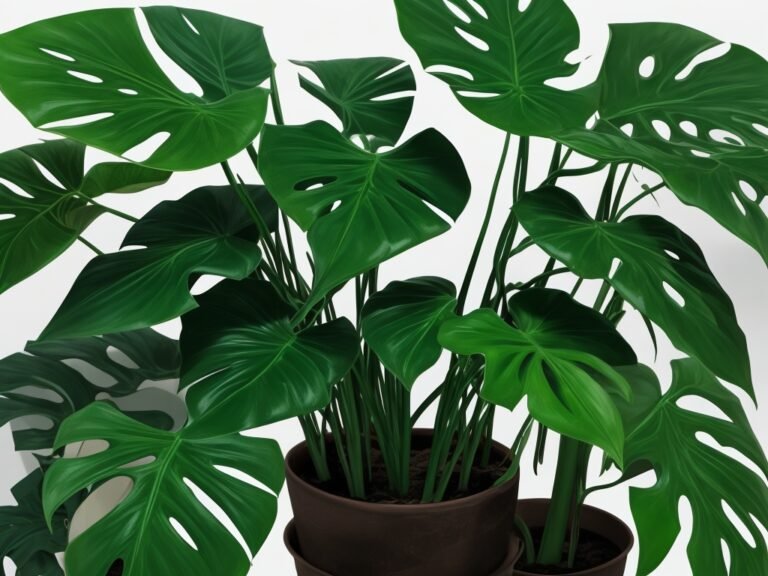
What is a Mini Monstera?
A Mini Monstera is a small variety of the Monstera plant, known for its unique leaves and easy care requirements.
Description of Mini Monstera plant
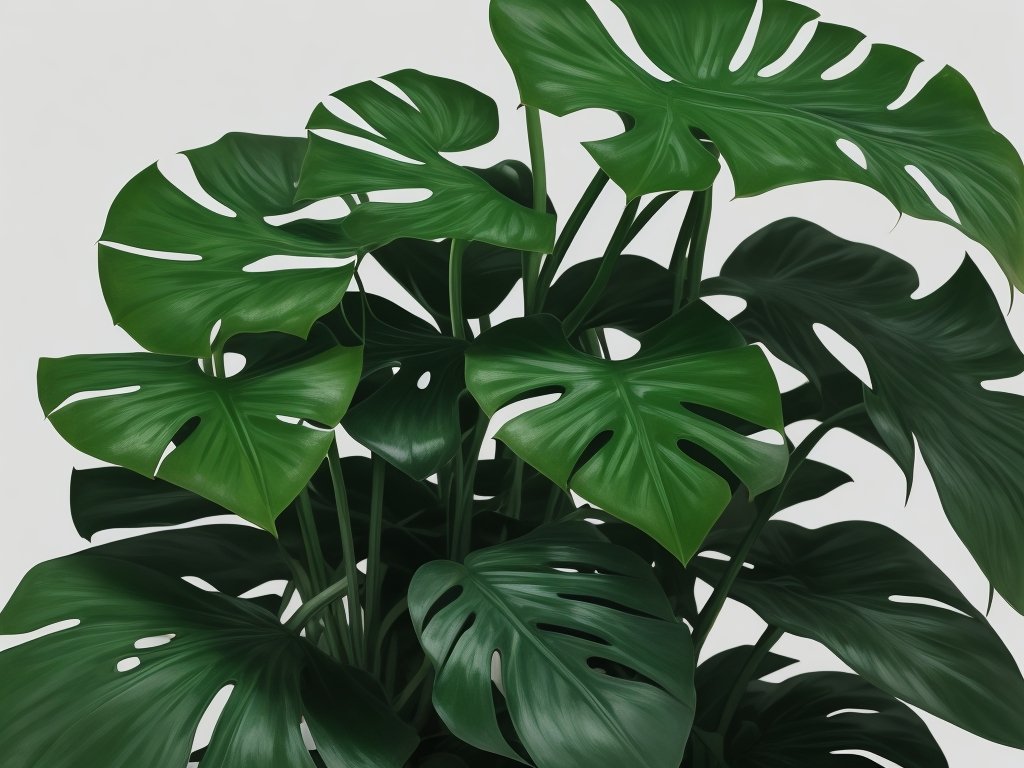
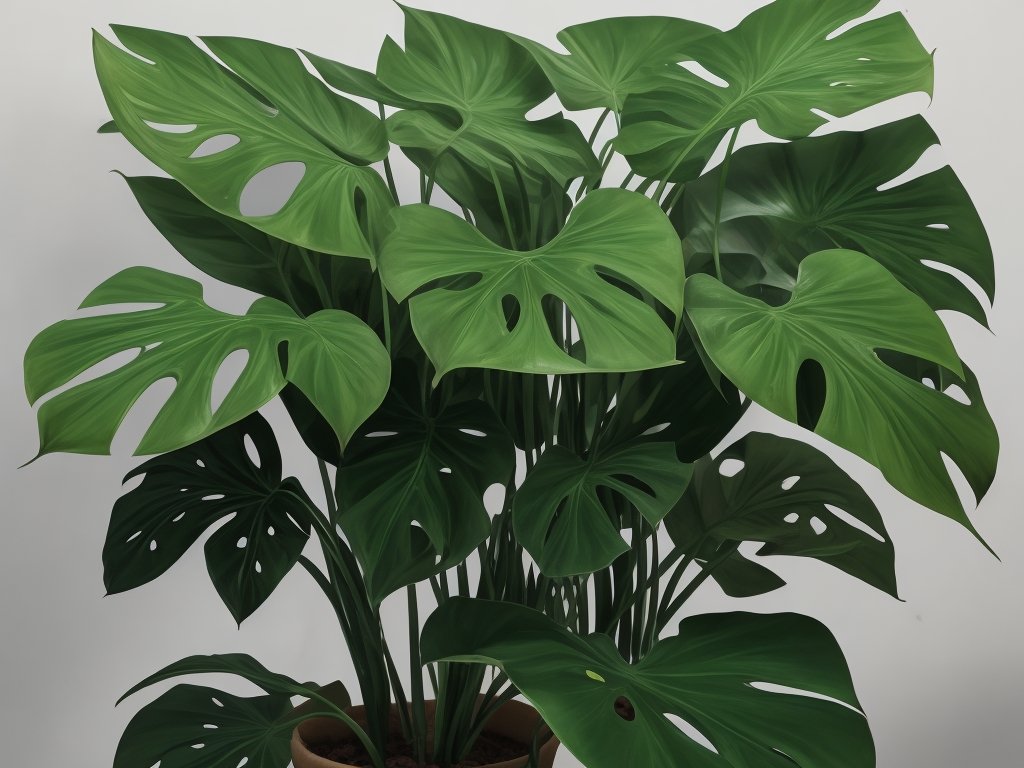
The Mini Monstera, also known as Rhaphidophora tetrasperma, is a popular houseplant that closely resembles the Monstera deliciosa.
It features glossy, deep-green leaves with distinctive fenestrations, or holes.
Unlike its larger counterpart, the Mini Monstera is more compact and manageable in size, making it a great choice for smaller spaces.
It can grow as a climbing vine or as a hanging plant, adding a touch of tropical beauty to any indoor environment.
Distinction between Mini Monstera and Monstera Deliciosa
Mini Monstera, also known as Rhaphidophora Tetrasperma, is often mistaken for Monstera Deliciosa due to their similar appearance.
However, there are a few key distinctions between the two plants.
The Mini Monstera has smaller leaves that are typically about the size of a hand, while Monstera Deliciosa has much larger leaves that can grow up to three feet in length.
Additionally, Mini Monstera plants tend to have a more compact growth habit, making them suitable for small spaces or hanging baskets.
On the other hand, Monstera Deliciosa plants have a more sprawling growth habit and are often used as floor plants or climbers.
Another difference lies in the leaves’ fenestrations, or the natural holes and splits in the foliage.
Monstera Deliciosa leaves develop larger and more distinct fenestrations as the plant matures, while Mini Monstera leaves usually have small or no fenestrations, even when they mature.
In terms of care, Mini Monstera plants have slightly different requirements compared to Monstera Deliciosa.
Mini Monstera prefers bright, indirect light and well-draining soil, while Monstera Deliciosa can tolerate a wider range of light conditions and soil types.
Mini Monstera also tends to be more forgiving when it comes to watering, whereas Monstera Deliciosa is sensitive to overwatering.
Overall, while they may look similar, the Mini Monstera and Monstera Deliciosa have distinct differences in size, growth habit, fenestration, and care requirements.
Understanding these distinctions can help you choose the right plant for your space and effectively care for it.
Popular names for Mini Monstera
The Mini Monstera plant, also known as Rhaphidophora Tetrasperma, has gained popularity in recent years.
It is often called “Mini Swiss Cheese Plant” or “Ginny Philodendron” due to its resemblance to the larger Monstera Deliciosa.
These are the common names used to refer to this trendy and charming houseplant.
Why Propagate a Mini Monstera?
Propagating a Mini Monstera has its own benefits.
Benefits of propagating a Mini Monstera
Propagating a Mini Monstera offers several benefits. Firstly, it allows you to create new plants without purchasing them.
Secondly, it’s a cost-effective way to expand your Mini Monstera collection.
Thirdly, propagating can rejuvenate an older plant. Overall, it’s a fun and rewarding process that lets you grow your plant collection and share with others.
Why people choose to propagate instead of buying mature plants
People choose to propagate instead of buying mature plants because it is a cost-effective option. Propagating allows them to grow new plants from cuttings or air layering, saving money compared to buying established plants.
It also gives a sense of satisfaction and enables them to control the growth and care of the plant from its early stages.
Additionally, propagating can be a fun and rewarding process for plant enthusiasts.
Methods of Propagating a Mini Monstera
There are two main methods of propagating a Mini Monstera: stem cuttings and air layering.
Propagation by stem cuttings
To propagate a Mini Monstera using stem cuttings, begin by selecting a healthy parent plant.
Then, cut a 3-4 node section from a mature stem and remove the lower leaves.
Dip the cut end in rooting hormone (optional) and place it in moist soil or water.
Keep the cutting in a warm, humid environment with indirect sunlight.
Within a few weeks, roots will start to form, and you can transplant the new plant into a pot.
Propagation by air layering
Propagation by air layering is a method of propagating a Mini Monstera by encouraging a stem to develop roots while still attached to the parent plant. It involves making an incision on the stem, wrapping it with moist sphagnum moss or a rooting medium, and enclosing it in plastic to promote root growth.
Once roots develop, the stem can be cut and potted as a new plant.

Propagation Process Step by Step
Here’s how you can propagate a mini monstera step by step.
Preparing the tools and materials
To prepare for propagating a mini Monstera, you’ll need a few tools and materials. Here’s what you’ll need:
- Pruning shears or a sharp knife: These will be used to cut the stem or prepare the air layering site.
- Rooting hormone (optional: Rooting hormone can help stimulate root growth, but it’s not necessary for every propagation method.
- A clean container or pot: This will be used to hold the cutting or air layered section during the propagation process.
- Well-draining potting mix: Choose a mix that’s suitable for indoor plants, as it will provide the necessary nutrients and drainage for the new plant.
- Watering can or spray bottle: Having a watering can or spray bottle will make it easier to water the newly propagated plant.
Make sure to have all these tools and materials ready before you begin propagating your mini Monstera. Having everything on hand will ensure a smooth and efficient propagation process.
Selecting a healthy parent plant
To select a healthy parent plant for propagating a Mini Monstera, look for a plant that is vibrant and free from any signs of disease or pests. Choose a plant with strong roots, healthy foliage, and no visible damage.
It’s also important to select a plant that is mature enough to produce viable cuttings or undergo air layering successfully.
By selecting a healthy parent plant, you increase your chances of successful propagation and producing healthy offspring.
Preparing the cutting or air layering site
Preparing the cutting or air layering site is essential for successful propagation of a Mini Monstera.
For stem cuttings, make sure to use a clean, sharp tool to cut just below a node.
Remove any leaves near the bottom of the cutting to promote root growth.
If using air layering, make a small cut on the parent plant’s stem and wrap it with damp sphagnum moss or rooting medium.
Cover it with plastic to create a mini greenhouse.
Applying rooting hormone (optional)
Applying rooting hormone is optional when propagating a Mini Monstera.
Rooting hormone can help stimulate root growth and increase success rates.
To apply, dip the cut end of the stem in the rooting hormone powder or gel before planting it in the soil or water.

Providing appropriate care during the propagation process
To provide appropriate care during the propagation process, you’ll want to ensure that the propagated Mini Monstera receives enough sunlight (bright, indirect light is best), regular watering (keeping the soil moist but not soggy), and a humid environment (mist the plant or use a humidity tray).
Avoid overwatering and monitor for any signs of root rot or stem rot.
Transplant the propagated plant into well-draining soil once it has developed a healthy root system.
Caring for Newly Propagated Mini Monstera
After propagating your Mini Monstera, remember to transplant it, provide the right amount of sunlight, water and humidity, and fertilize it regularly to ensure its healthy growth.
Transplanting the propagated plant
To transplant a propagated Mini Monstera, gently remove it from the propagation medium and place it into a pot with well-draining soil. Ensure the roots are covered and firm the soil around the plant.
Water thoroughly and place it in a spot with bright, indirect light.
Keep the soil moist but not soggy, and avoid direct sunlight. Gradually acclimate it to its new environment by increasing its exposure to light.
Providing the right amount of sunlight
The Mini Monstera is a tropical plant that thrives in bright, indirect sunlight.
Place it near a window with filtered light or in a spot where it receives a few hours of indirect sunlight each day.
Avoid placing it in direct sunlight, as this can scorch the leaves.
Watering and humidity requirements
Water your Mini Monstera when the top inch of the soil feels dry.
Avoid overwatering to prevent root rot.
Mist the leaves regularly or use a humidifier to maintain humidity levels between 60-70%.
High humidity promotes healthy growth and prevents leaf browning.
Fertilizing the newly propagated Mini Monstera
To fertilize a newly propagated Mini Monstera, it’s best to wait until the roots are well established. Once that’s confirmed, you can start by using a balanced liquid fertilizer.
Dilute it according to the package instructions and apply it to the soil every two to four weeks during the growing season.
Avoid over-fertilizing, as it can harm the plant. Regularly check the soil moisture and adjust the watering accordingly.
This will help ensure healthy growth and thriving foliage for your Mini Monstera.
Troubleshooting Common Propagation Issues
Having trouble propagating your mini monstera? We’re here to help with common issues like root rot, rotting stems, and failed cuttings.
Root rot and overwatering
Root rot occurs when the roots of a plant are consistently exposed to excess moisture, leading to fungal infections and decay. Overwatering is the main cause of root rot.
To prevent this issue, make sure the soil is well-draining and allow the top layer to dry out before watering again.
Furthermore, it’s important to avoid standing water and provide proper drainage for your Mini Monstera. Regularly inspect the roots for any signs of rot, such as brown and mushy roots.
If you notice any issues, adjust your watering routine and consider repotting the plant in fresh, well-draining soil.
Rotting stem during air layering
Rotting stem during air layering can occur due to excessive moisture, which promotes fungal growth. To prevent this issue, ensure the stem is healthy and free from any diseases or damage before starting the air layering process.
Additionally, make sure the moss or other medium used for wrapping is moist but not overly wet.
Regularly check for any signs of rotting or fungal growth and adjust the moisture levels accordingly. Providing proper care and monitoring during the air layering process can help prevent rotting stems and ensure successful propagation.
Failure of cuttings to root
Failure of cuttings to root can occur due to various reasons. Some common causes include improper cutting technique, low humidity, incorrect temperature, poor soil quality, and lack of sufficient nutrients.
To improve success rates, ensure you’re using sharp, sterile tools, provide adequate moisture and humidity, maintain optimal temperature conditions, use a well-draining soil mix, and consider using rooting hormone.
Additionally, be patient as rooting can take time, and don’t be discouraged if some cuttings don’t root successfully.
Frequently Asked Questions
How long does it take for Mini Monstera cuttings to root?
Mini Monstera cuttings typically take around 2-4 weeks to root. During this time, it’s important to provide the right conditions such as indirect sunlight, adequate moisture, and warmth.
Patience is key, as the rooting process can vary depending on factors like temperature and plant health.
Rest assured, with proper care, your Mini Monstera cuttings will develop a robust root system.
Can I propagate a Mini Monstera from a single leaf?
No, you cannot propagate a Mini Monstera from a single leaf.
Mini Monstera plants need a stem cutting or air layering to successfully propagate.
Can I propagate a Mini Monstera in water?
Yes, you can propagate a Mini Monstera in water. Simply take a stem cutting, remove the lower leaves, and place the cutting in a jar or vase filled with water.
Ensure the nodes are submerged.
Roots will develop in a few weeks, and then you can transfer the cutting to soil.
Final Verdict
Propagating a Mini Monstera is a rewarding and cost-effective way to expand your plant collection and share the beauty of this unique plant. By understanding the distinct features of a Mini Monstera and the methods of propagation, you can successfully grow new plants from stem cuttings or air layering.
Taking proper care of the newly propagated Mini Monstera is crucial for its growth and development.
By following the necessary steps and troubleshooting any issues that may arise, you can enjoy a flourishing Mini Monstera in your home. Keep in mind that every plant is different, so don’t be discouraged if you face challenges along the way.
With patience, dedication, and proper care, you can successfully propagate a Mini Monstera and watch it thrive in your indoor garden.
Happy propagating!