Propagating Anthurium: A Green Thumb’s Guide
Key Takeaways:
- Propagating Anthurium involves the use of division or stem cuttings.
- It is important to use a well-draining medium when propagating Anthurium.
- Proper care and maintenance is crucial for the successful propagation of Anthurium.
- Patience is key, as it may take some time for the new plant to become established.
Welcome to the fascinating world of propagating Anthurium! If you’re a plant lover like me, then you’re in for a treat.
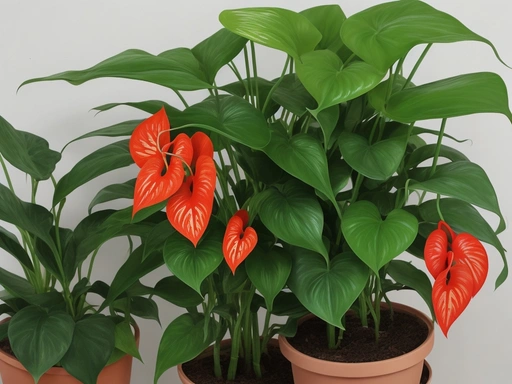
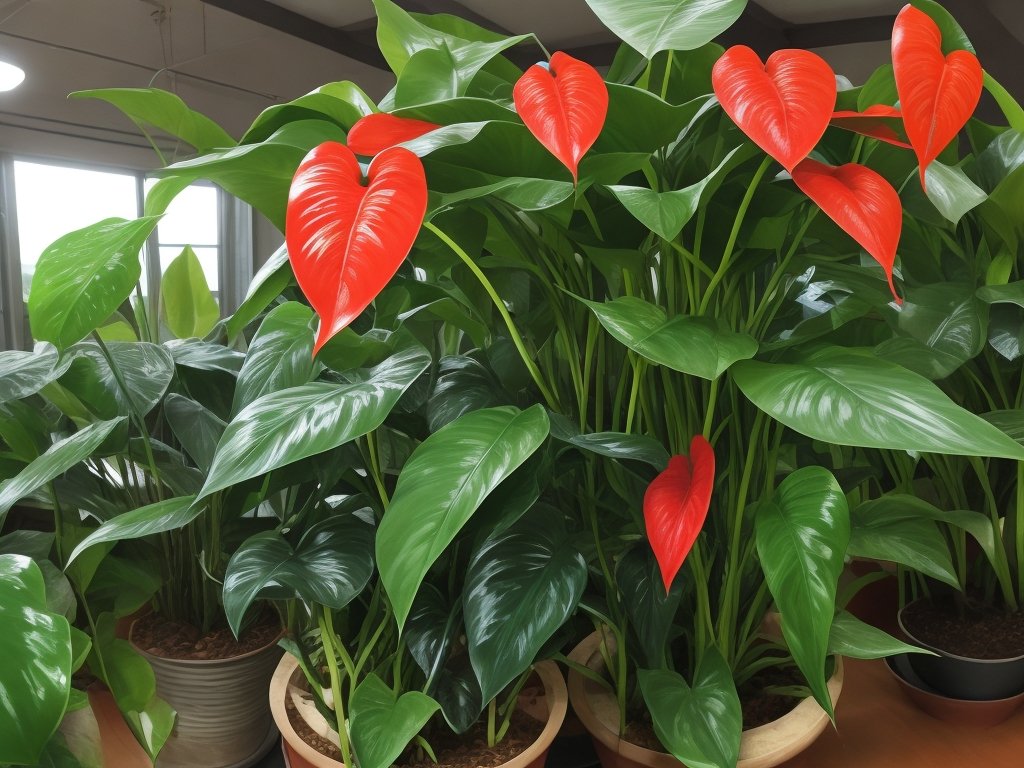
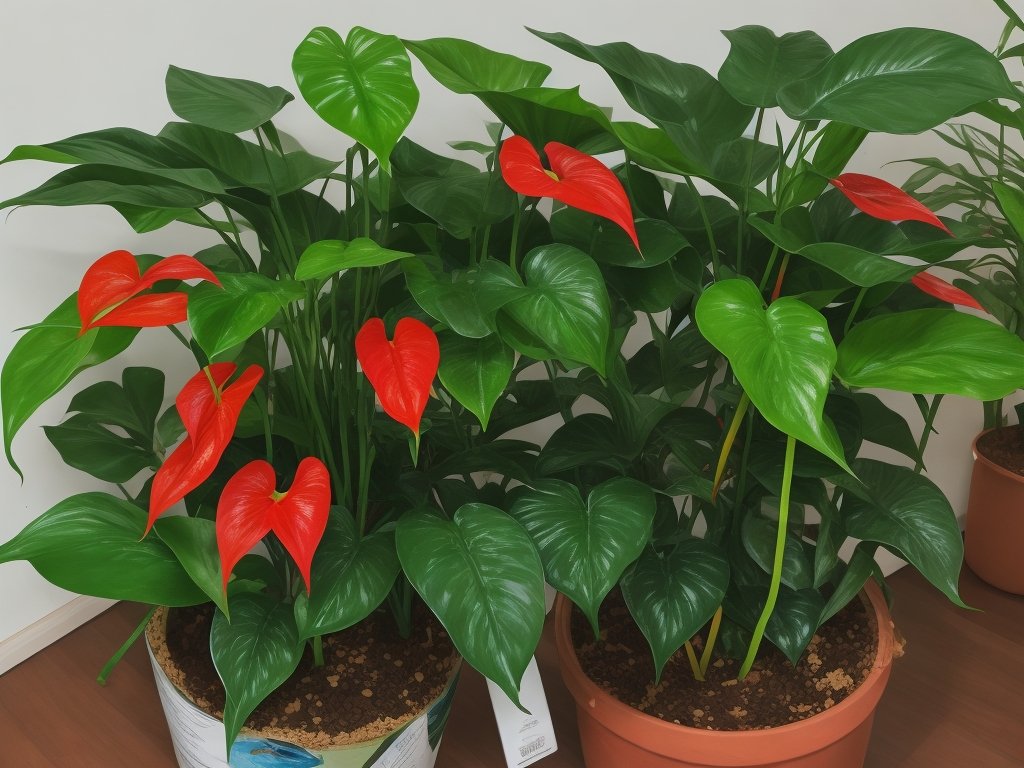
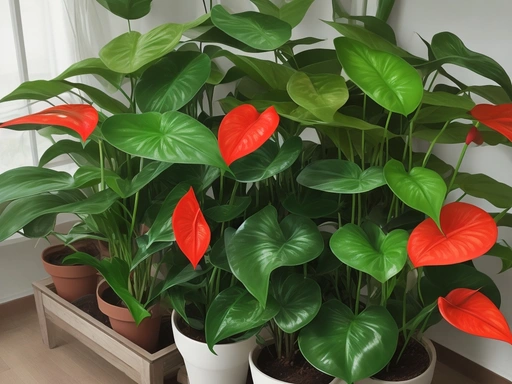
Anthurium, also known as the flamingo flower, is a stunning tropical plant with vibrant, heart-shaped flowers that add a touch of elegance to any space.
But here’s the best part: you can easily create new Anthurium plants through propagation.
Whether you prefer seeds, cuttings, or division, I’ll guide you through different methods and provide tips on caring for your new Anthurium babies.
Get ready to expand your plant family and beautify your home!
| Propagation Method | Pros | Cons |
| Division | Easy and reliable Dividing larger anthurium plants can quickly produce new plants. | May damage roots if not done properly. |
| Stem cuttings | Produces multiple plants Each stem cutting can give rise to a new anthurium plant. | Takes longer time to root compared to other methods. |
| Leaf cuttings | Requires minimal resources Leaf cuttings are easy to obtain and can be used to propagate multiple plants. | Success rate can be lower compared to other methods. |
| Air layering | Allows for branch repositioning Air layering helps create a new plant while keeping the existing plant intact. | Requires more time and effort compared to other methods. |
What is Anthurium
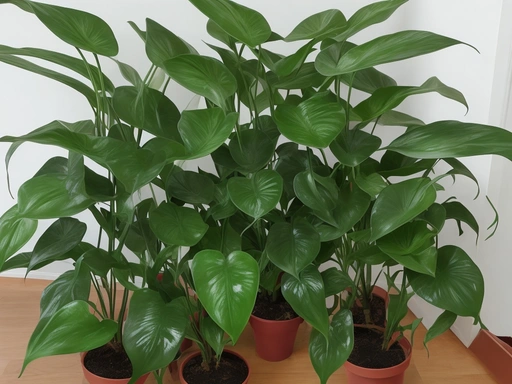
Anthurium is a popular tropical plant known for its vibrant, glossy flowers and shiny leaves. It belongs to the Araceae family and is native to the rainforests of Central and South America.
Anthuriums are commonly grown as houseplants or used in floral arrangements.
Why propagate Anthurium
Propagating Anthurium allows you to expand your plant collection and share the beauty of this tropical plant with others.
Benefits of propagating Anthurium
There are several benefits to propagating Anthurium plants. Firstly, it allows you to expand your collection without having to buy new plants.
Secondly, it is a cost-effective way to grow more Anthuriums.
Thirdly, propagating Anthuriums gives you the opportunity to share them with friends and family. Overall, propagating Anthuriums is a rewarding process that allows you to enjoy more of these beautiful plants.
Different methods of propagating Anthurium
There are three common methods to propagate Anthurium: from seeds, cuttings, or division.
- Propagating from seeds: Collect seeds, prepare soil mix, plant seeds, and care for seedlings.
- Propagating from cuttings: Select healthy cuttings, prepare rooting medium, root cuttings, and transfer to pots.
- Propagating through division: Identify the right time, prepare the plant, divide, and care for the divided plants.
No matter which method you choose, ensure proper care for successful propagation.
Choosing the right method for propagating Anthurium
To choose the right method for propagating Anthurium, consider your experience level and preferences.
Propagating from seeds is best for experienced gardeners, while cuttings are easier for beginners.
Division is ideal for large, mature plants.
Each method has its own requirements and success rates, so choose what works best for you.
Propagating Anthurium from Seeds
To propagate anthurium from seeds, you will need to collect the seeds and prepare the soil for optimal growth.
Collecting Anthurium seeds
To collect Anthurium seeds, wait until the berries on the plant turn a bright red or orange color. Cut the ripe berries from the plant and gently squeeze to remove the seeds.
Rinse the seeds to remove any remaining pulp, then air-dry them for a few days.
Store the seeds in a cool, dry place until you’re ready to plant them.
Preparing the soil for seed propagation
Preparing the soil for seed propagation is important for the successful growth of Anthurium plants. Start by choosing a well-draining soil mix that is rich in organic matter.
Prepare the soil by removing any debris, rocks, or weeds.
Add perlite or vermiculite for improved drainage. Moisten the soil before planting the Anthurium seeds.
Make sure the soil is evenly moist but not waterlogged.
Avoid overwatering as it can lead to root rot. Provide a warm and humid environment for the seeds to germinate.
Regularly monitor the moisture levels in the soil and adjust watering accordingly.
Planting Anthurium seeds
To plant Anthurium seeds, start by collecting mature seeds from a mature Anthurium flower. Prepare a well-drained soil mix and moisten it slightly.
Then, sow the seeds on the soil surface, spacing them apart.
Cover the seeds with a thin layer of soil and mist them gently with water. Keep the soil consistently moist and place the pot in a warm and well-lit area, but avoid direct sunlight.
Germination can take several weeks, so be patient.
Once the seedlings have grown a few inches tall, you can transplant them into individual pots with well-draining soil. Keep caring for them by providing adequate water, humidity, and indirect sunlight, and you’ll have healthy Anthurium plants in no time.
Propagating Anthurium from Cuttings
Propagating Anthurium from cuttings is a simple and effective method.
Selecting healthy Anthurium cuttings
When selecting healthy Anthurium cuttings, look for stems that are firm, plump, and free from any signs of damage or disease. Choose cuttings that have at least two to three nodes, as these are where new roots will develop.
Additionally, select cuttings with healthy green leaves and avoid those with yellowing or discolored foliage.
Preparing the cutting and rooting medium
Preparing the cutting and rooting medium for propagating Anthurium is essential for successful rooting.
Start by choosing a well-draining medium like perlite, vermiculite, or a mix of peat moss and perlite.
Fill a clean container with the medium and moisten it slightly.
Make sure the container has drainage holes to prevent waterlogging.
Rooting Anthurium cuttings
To root Anthurium cuttings, start by selecting healthy cuttings with at least two nodes.
Prepare a rooting medium of perlite and peat moss, and dip the cut ends in rooting hormone.
Plant the cuttings in the medium and keep them warm and humid.
Within a few weeks, roots should start to develop.
Once the roots are established, transfer the rooted cuttings to pots filled with well-draining soil.
Provide the proper care and watch your new Anthurium plants thrive!
Transferring rooted cuttings to pots
Once your Anthurium cuttings have rooted, it’s time to transfer them to pots. Gently remove the rooted cuttings from their rooting medium, being careful not to damage the delicate roots.
Choose a well-draining potting mix and place the cuttings in small individual pots.
Ensure that the roots are covered with soil and lightly press down. Water the newly potted cuttings thoroughly, and place them in a warm and bright location.
Keep the soil moist but not waterlogged, and your propagated Anthurium plants will thrive in their new pots.
Propagating Anthurium through Division
Propagating Anthurium through division is a simple and effective way to create new plants from an existing one.
Identifying the right time to divide Anthurium
To identify the right time to divide Anthurium plants, look for a few signs. Firstly, check if the plant has become crowded with multiple stems or has outgrown its pot.
Secondly, examine the roots to see if they are circling around the pot.
Thirdly, observe if the plant has finished its active growing phase and has entered a period of dormancy. These are all indications that it is a suitable time to divide your Anthurium plant.
Preparing the Anthurium plant for division
To prepare an Anthurium plant for division, start by watering the plant thoroughly a day or two before dividing it. This will make it easier to remove the plant from its pot without causing damage to the roots.
Once the soil has dried out a bit, gently remove the plant from the pot and shake off any excess soil.
Use a clean and sharp knife or garden shears to divide the plant into smaller sections, ensuring that each section has at least a few leaves and a healthy root system. Trim any damaged or diseased roots before planting the divided sections into separate pots filled with well-draining potting mix.
Place the newly divided plants in a location with bright, indirect light and continue to care for them as you would for a mature Anthurium plant.
Dividing Anthurium plants
To divide an Anthurium plant, look for these signs: if the plant has outgrown its pot, if it has multiple stems growing from the same root system, or if it’s not producing new leaves or flowers as it used to. To divide, carefully remove the plant from its pot, gently separate the roots into individual sections, and replant each section in its own pot, making sure to water and care for them properly.
Frequently Asked Questions about propagating Anthurium
Can all varieties of Anthurium be propagated?
Yes, all varieties of Anthurium can be propagated. Whether you have a common Anthurium andraeanum or a rare Anthurium crystallinum, you can use different methods like seed propagation, cutting propagation, or division to create new plants.
Each method has its own requirements, so choose the one that suits you best.
How long does it take for Anthurium cuttings to root?
Anthurium cuttings usually take around 4 to 6 weeks to root. During this time, it’s important to keep the cuttings in a warm and humid environment and provide them with proper care, such as regular watering and misting.
Patience and consistent care are key to successful rooting.
When is the best time to propagate Anthurium?
The best time to propagate Anthurium is during the spring and summer months when the plant is actively growing.
This period provides optimal conditions for successful rooting and growth.
It’s important to choose a time when the plant is healthy and free from any signs of disease or stress.
Can I propagate Anthurium in water?
Yes, you can propagate Anthurium in water. Simply cut a healthy leaf or stem and place it in a container with water.
Make sure to change the water regularly to prevent stagnation.
Once roots have developed, transfer the cutting to a well-draining potting mix.
How often should I water propagated Anthurium plants?
Water propagated Anthurium plants when the top inch of soil feels dry to the touch.
This usually means watering every 1-2 weeks.
Be sure not to overwater, as Anthuriums are susceptible to root rot.
Allow the soil to dry out slightly between waterings to maintain the right moisture balance.
Final Verdict
Propagating Anthurium can be a rewarding and cost-effective way to expand your collection of these beautiful plants.
Whether you choose to propagate through seeds, cuttings, or division, each method has its own benefits and considerations.
By following the proper techniques and providing the right care, you can successfully propagate Anthurium and enjoy the satisfaction of watching new plants thrive.
Remember to select healthy specimens, prepare the soil or rooting medium properly, and provide adequate watering and light.
With patience and attention to detail, you can create a flourishing Anthurium garden.
Happy propagating!